
 by
by 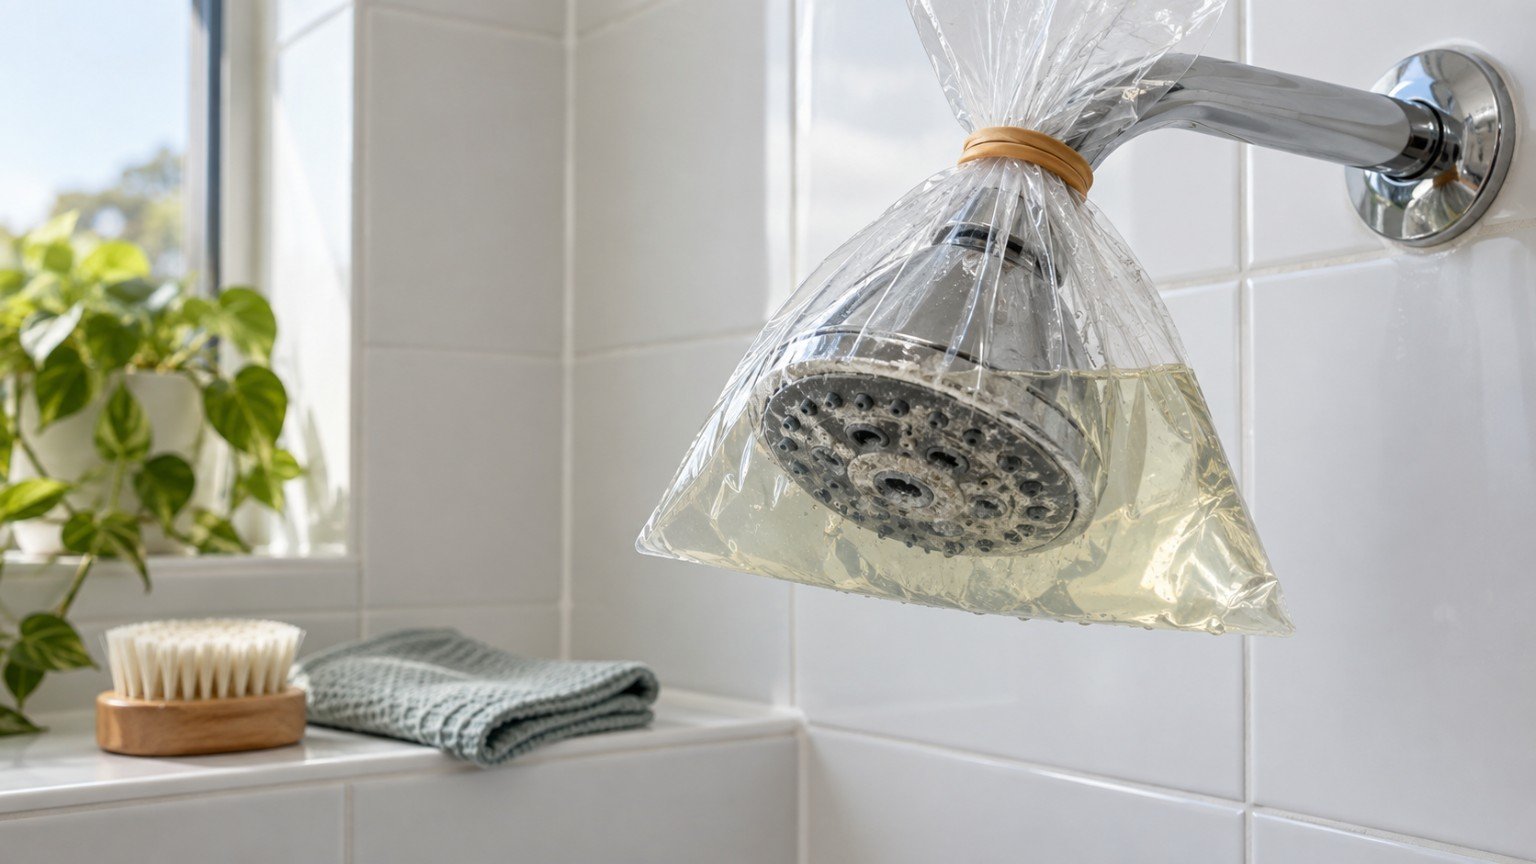
If your shower has gone from a strong, even spray to something weak, spitting or lopsided, the shower head itself is rarely broken. In most Australian homes, the real cause is mineral buildup inside the nozzles, a gradual crust of calcium and other minerals left behind as water evaporates from the tiny holes. It happens everywhere, but faster in areas with harder water. The good news is it is one of the easiest bathroom problems to fix yourself, with ingredients most households already have.
Why shower heads clog with mineral buildup
Every time water passes through a shower head and evaporates, it leaves behind trace minerals, mostly calcium and magnesium. Over months, these minerals build up around and inside the small holes the water sprays through. Enough buildup narrows or blocks individual jets, which is why a clogged shower head often sprays unevenly rather than just weakly all over.
This is a natural, gradual process rather than a sign anything is wrong with your plumbing. It is simply more noticeable, and happens faster, in homes on harder water supplies.
What you’ll need
- White vinegar
- A sandwich bag or small container
- A rubber band, string or tape
- An old toothbrush
- A toothpick or thin pin (optional, for individual jets)
You don’t need any specialised descaling product, though a shop-bought limescale remover will also work if you prefer to use one, following the instructions on the bottle.
How to remove mineral buildup
For a detachable shower head
If your shower head unscrews or detaches from its hose, this is the simplest method. Remove it, then submerge the head fully in a bowl or bucket of white vinegar. Leave it to soak for at least an hour for light buildup, or overnight for a shower head that has been neglected for a long time. Afterwards, scrub the face gently with an old toothbrush to loosen any remaining residue, then rinse thoroughly under running water before reattaching.
For a fixed shower head you can’t remove
If the shower head is fixed in place, fill a sandwich bag with white vinegar, enough to fully submerge the nozzle face, and tie or tape it around the shower head so the face sits in the liquid. Leave it for an hour or two, then remove the bag, run the shower on hot for a minute to flush everything through, and wipe away any loosened residue with a cloth or toothbrush.
Clearing individual blocked jets
If a few specific holes are still weak or not spraying at all after soaking, a toothpick or a thin pin can gently clear the individual nozzle. Work carefully rather than forcing it, since the nozzles on some shower heads are made from soft rubber or silicone that can tear.
How often to do this
As a general guide, a light vinegar soak every couple of months keeps buildup from becoming a bigger job. In hard water areas you may notice it needs doing more often; in softer water areas, less. There’s no need to follow a strict schedule, watching the spray pattern and doing a soak whenever it starts to look uneven or weak works fine for most households.
When to consider replacing the shower head instead
Most mineral buildup is fully reversible with a soak. But if a shower head is very old, has visible rust or corrosion on metal parts, or the nozzles have become brittle and are cracking, cleaning won’t fully restore it and a replacement is the more practical option. Low-flow and rubber-nozzle shower heads (the kind you can wipe clean by rubbing your finger across them) are generally easier to keep clear long-term.
A quick note for renters
This kind of cleaning is safe for renters to do without needing landlord approval, since it doesn’t involve altering any plumbing. If you want to actually swap the shower head for a new one, it’s worth checking your lease or asking your property manager first, and keeping the original to reinstall before you move out.
If mineral buildup is just one item on a longer list of small things needing attention around the house, our practical owner’s checklist for common household issues is a useful next read for working through the rest in order.

Join The Discussion