
 by
by 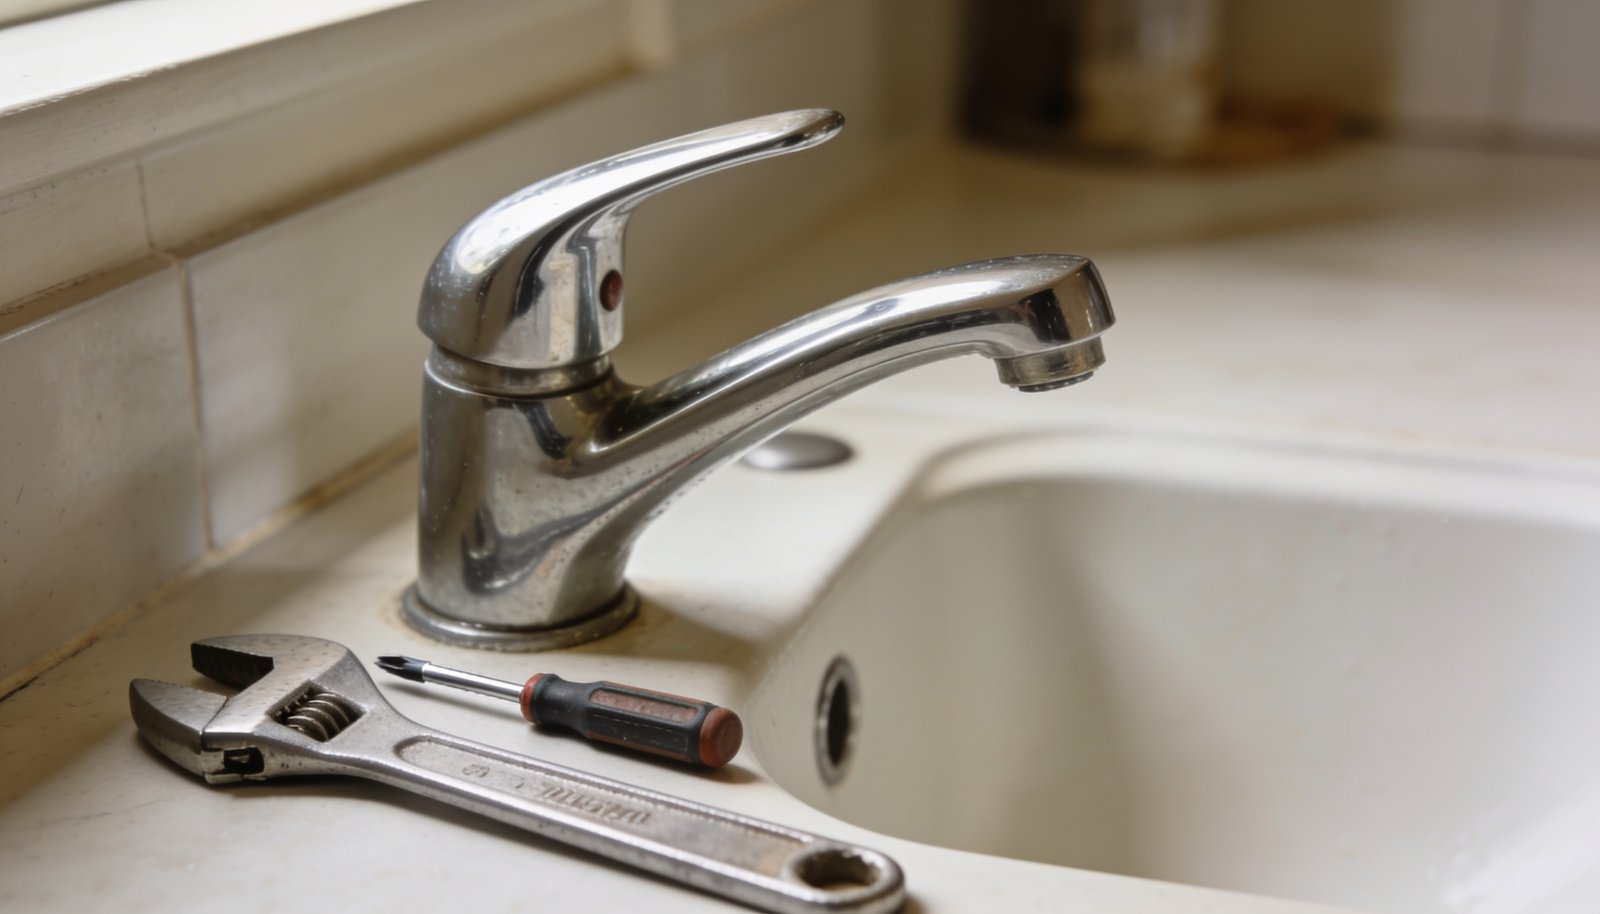
Leaking kitchen tap supply lines can be a persistent nuisance, quietly draining water and increasing household waste. Identifying and fixing these leaks is a straightforward task for most homeowners, provided the right tools and a methodical approach. This guide offers clear steps to test for leaks, replace damaged lines, and prevent future issues, helping you maintain a dry and efficient kitchen.
Gathering the Right Tools
Before starting, collect a few essential items: a flathead screwdriver, a pair of pliers, a replacement supply line, a bucket to catch water, and a clean rag. Having everything at hand avoids unnecessary interruptions and keeps the job tidy. It also reduces the risk of losing small parts in the kitchen.
The bucket should be large enough to hold any water that may spill when the old line is removed. A rag helps to wipe the area clean after the replacement. With these tools ready, you can move on to checking the tap for leaks.
Turning Off the Water Supply
Locate the main water shut-off valve that supplies the kitchen tap. This valve is usually found near the tap or in a hallway cupboard. Turning it off stops water flow and prevents further leakage.
Once the valve is closed, open the tap to allow any remaining water to drain. This step ensures that the new line will not be exposed to pressure when it is installed.
If the tap still drips, the valve may not be fully closed or the tap itself could be faulty. In such a case, a professional should be consulted.
Testing for Leaks
Apply a gentle pressure to the tap and observe the area around the supply line. A steady drip indicates a leak that needs attention.
If no drip is visible, wipe the tap and surrounding base with the rag to check for any wet spots. Moisture here signals a hidden leak that may require closer inspection.
Use the bucket to catch any water that appears when the supply line is disconnected. This confirms whether the line is indeed the source of the leak.
- Gentle tap pressure.
- Rag for wiping.
- Bucket for catching water.
Removing the Old Supply Line
Place the bucket beneath the tap to catch any water that may spill. This precaution keeps the kitchen floor dry and prevents damage to cabinets.
Use the flathead screwdriver to loosen the nut that secures the supply line to the tap. Turn the nut counter-clockwise until it releases.
Once the nut is loose, grip the line with pliers and pull it away from the tap. If the line resists, check that the nut is fully removed.
The old line should now be free. Inspect it for cracks, holes, or signs of wear. If any damage is found, it confirms the need for a replacement.
Installing the New Supply Line
Take the new supply line and slide it onto the tap’s fitting. Ensure the line is seated fully and evenly.
Hand-tighten the nut that holds the line in place. This initial snug fit prevents accidental loosening during the next step.
Using the screwdriver, tighten the nut further until it feels firm but not overly tight. Over-tightening can damage the fitting or the line.
After securing the line, turn the main water valve back on slowly. Observe the tap for any signs of leakage. If a drip appears, check the nut’s tightness again.
Checking the Work
With the tap turned on, let the water run for a few minutes. This flushes the system and shows whether the new line holds.
Look closely at the connection point for any moisture. A dry spot indicates a successful installation.
If a leak persists, the fitting may need to be removed and re-installed. Ensure the nut is seated correctly and the line is not twisted.
Once the tap runs without a drip, wipe the area with the rag and replace any cabinet panels that were removed. This restores the kitchen’s appearance.
Preventing Future Leaks
Regularly inspect the tap and supply lines for signs of wear. A simple visual check can catch problems before they become serious.
Keep the tap area clean and dry. Moisture can accelerate corrosion on metal fittings, leading to leaks over time.
If the tap is older, consider replacing it entirely when you next undertake a kitchen upgrade. New taps often come with improved seals and longer life.
When in doubt, call a qualified plumber. They can assess the overall plumbing health and advise on any hidden issues.
Replacing a leaking kitchen tap supply line is a manageable task that saves water and protects your home. By following these practical steps, you can ensure a reliable connection and maintain a dry, efficient kitchen. If any part of the process feels uncertain, seeking professional help is the safest choice.

Join The Discussion