
 by
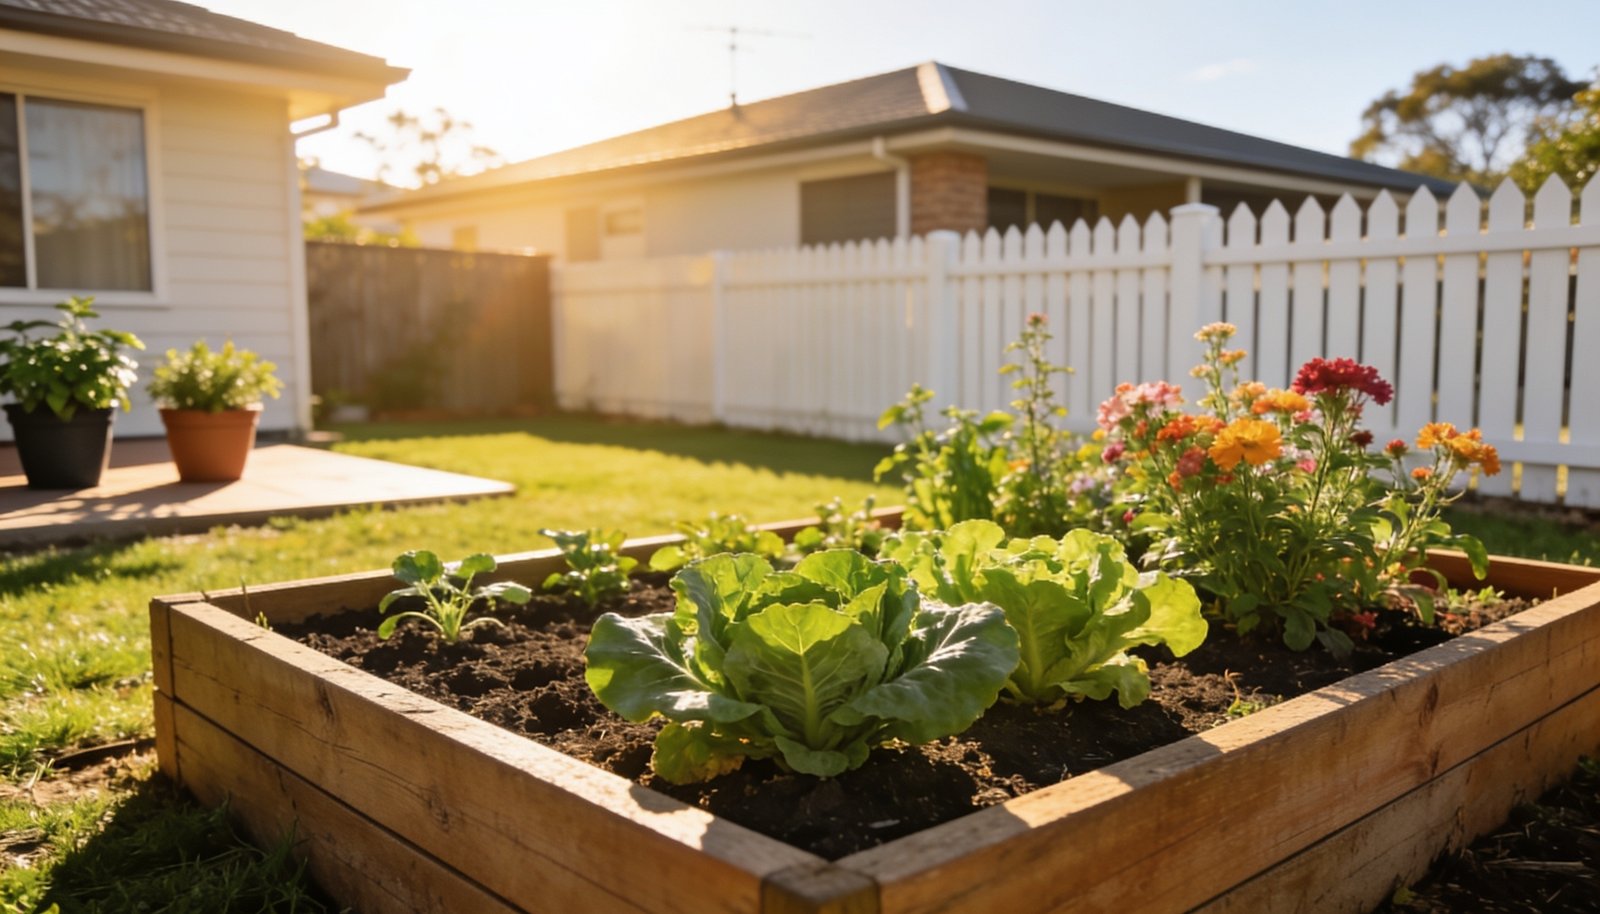
Composting at home can turn kitchen scraps into a valuable resource for gardens and reduce waste that ends up in the rubbish bin. It is a simple system that can involve the whole family and teach children about sustainability. By following practical steps, any ordinary Australian house can host a compost bin that works safely and efficiently.
Choosing a Location
Select a spot in the backyard that receives some shade but still gets a few hours of sun each day. The area should be level and close to the tap for easy access to water. Place the bin on a raised platform or a sturdy pallet to keep it off damp ground.
Ensure the spot is away from the main driveway to avoid traffic noise and potential damage. Check that the chosen location has a good drainage pattern to prevent waterlogging. If the ground is uneven, lay a few layers of crushed stone to create a stable base.
Mark the boundaries with a low fence or a line of garden stones to keep the bin contained. This helps keep the compost tidy and prevents children from wandering into the bin area. Keep the bin visible so family members can easily monitor its progress.
Use a container that is at least a few metres wide and tall to allow enough space for material. A round or square bin with a lid works well to control odour and pests. Make sure the bin has a vent or a small opening to allow air circulation.
Gathering Materials
Collect kitchen scraps such as fruit and vegetable peels, coffee grounds, and tea bags. Include small amounts of plant trimmings and grass clippings from the garden. Avoid adding meat, dairy, or oily foods as they can attract pests.
Add dry leaves, shredded newspaper, or sawdust to balance the moisture from fresh scraps. These dry materials help create a good carbon to nitrogen ratio in the compost pile. Mixing different textures also encourages airflow throughout the bin.
Teach children to separate green and brown materials before adding them to the bin. Use a small basket or container to keep the kitchen area tidy and prevent cross-contamination. Encourage kids to help with measuring and mixing the compost ingredients.
Store any unused scraps in a small cooler or fridge until they are ready for composting. This keeps the kitchen neat and prevents odour buildup in the home. Once the scraps are ready, transfer them to the compost bin promptly.
Setting Up the Bin
Place the bin on the prepared platform and secure it with a few nails or bolts if needed. Ensure the lid fits snugly to keep insects away while still allowing air to pass through. If the bin is round, position it so that the opening faces away from the main house.
Layer the compost by alternating green and brown materials, starting with a layer of dry material at the bottom. This base layer helps with drainage and prevents the bin from becoming soggy. Add fresh scraps on top and cover them with a thin layer of dry material to reduce odour.
Use a small rake or stick to turn the compost every few weeks. Turning introduces oxygen and speeds up decomposition while keeping the pile moist but not wet. Encourage children to participate in turning the compost as a learning activity.
Check the moisture level regularly; the compost should feel damp like a wrung-out sponge. If it feels dry, sprinkle a little water from the tap; if it feels too wet, add more dry material.
- Secure the bin.
- Alternate green and brown layers.
- Cover with dry material.
- Turn every few weeks.
Maintaining the Compost
Keep the bin covered when not in use to minimise odour and keep pests away. Open the lid for a short period each day to allow fresh air to circulate. If the bin starts to emit a strong smell, add more dry material and turn it thoroughly.
Add small amounts of fresh scraps at a time to avoid overwhelming the bin. If the compost becomes too wet, spread it out on a tarp to allow excess moisture to evaporate. Use a garden hose to rinse the bin gently if it becomes too mouldy.
Encourage children to observe changes in colour, texture, and smell as the compost matures. These observations help them understand the natural decomposition process. Record any changes in a simple notebook or on a wall chart.
When the compost turns dark brown and crumbly, it is ready for use in the garden. Use it as a soil amendment or mulch around plants to improve moisture retention.
- Cover when not in use.
- Open daily for air.
- Add scraps gradually.
Using the Finished Compost
Spread the finished compost around flower beds or vegetable patches to enrich the soil. Apply a thin layer over the topsoil and mix lightly with a garden fork. This improves fertility and helps plants grow stronger.
Use compost as a mulch around trees and shrubs to suppress weeds and retain moisture. Spread it evenly and keep it a few centimetres away from the trunk to avoid rot.
Teach children to measure the amount needed for each plant and to spread it evenly. Encourage them to check the soil after a few weeks to see how the compost has improved its texture.
Store any excess compost in a sealed bag or container for future use.
Safety and Maintenance Tips
Keep the compost bin away from the main house to avoid odour drifting inside. Use a low fence or a line of stones to keep children from wandering into the bin area.
If you notice any signs of pests, such as ants or rodents, inspect the bin for uncovered food sources.
Do not add any meat or dairy products as they can attract pests and create unpleasant odours.
If the bin requires any repairs or the lid is damaged, seek professional help to ensure it remains secure.
- Keep away from house.
- Use low fence.
- Inspect for pests.
- Avoid meat and dairy.
Composting at home is a straightforward way to reduce waste and support garden health. By involving the whole family in the process, it becomes a rewarding learning experience for everyone.


Join The Discussion