
 by
by 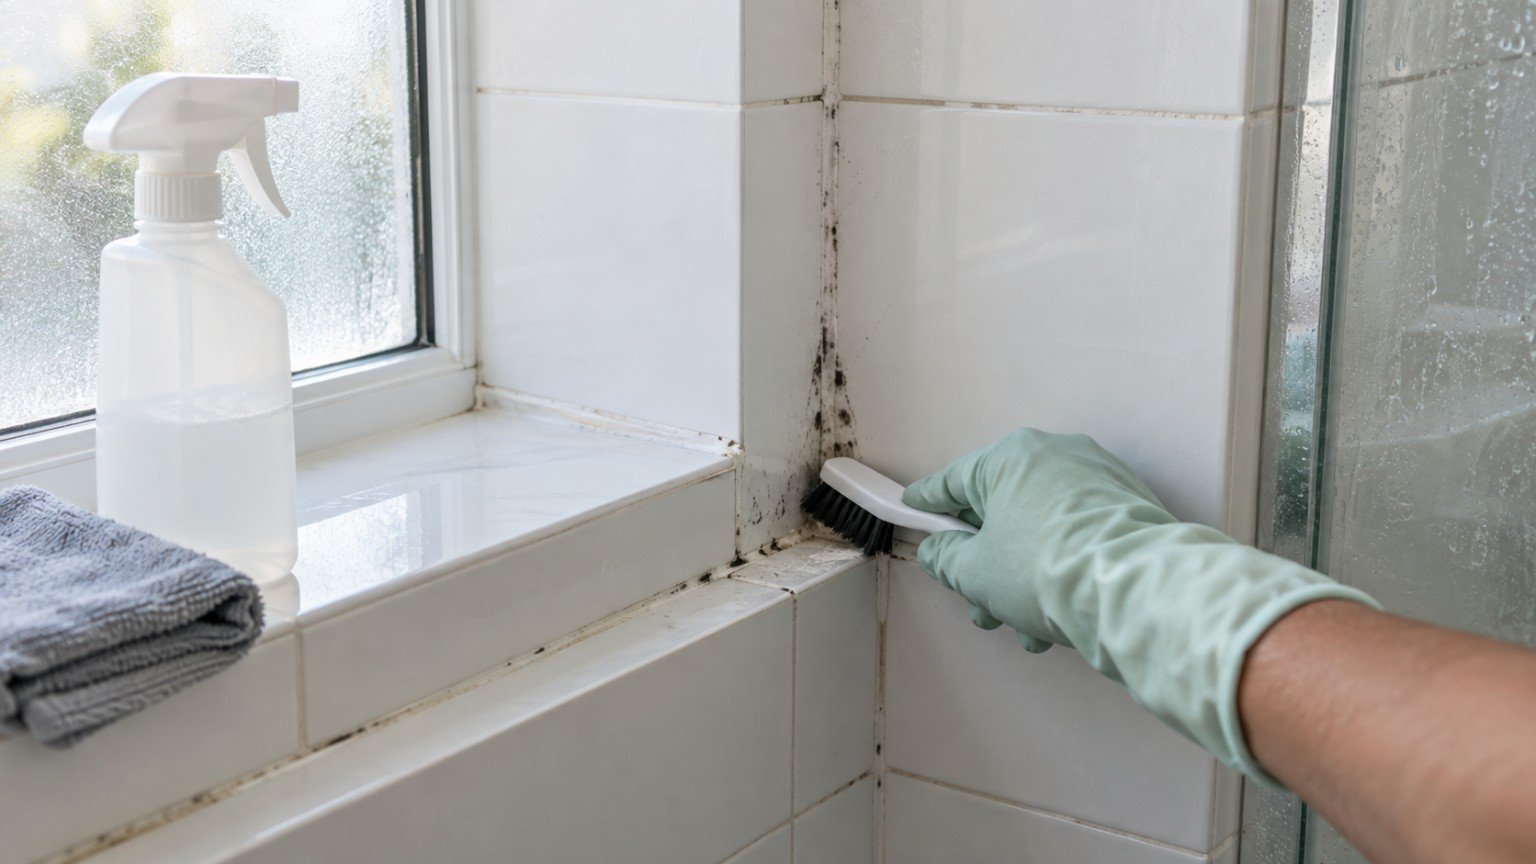
Black spots creeping along the silicone seal in the shower or dark speckles settling into the grout lines are one of the most common bathroom complaints in Australian homes, in every climate from tropical Queensland to cooler Victorian winters. The good news is that surface mould on silicone and grout is usually manageable yourself, without needing to call anyone in. Here is a practical, safe way to tackle it.
Why bathroom silicone and grout attract mould
Bathrooms combine everything mould loves: warmth, moisture and a food source in the form of soap scum, skin cells and dust. Silicone sealant is porous at a microscopic level and grout is even more so, which means mould spores can lodge just below the surface rather than sitting cleanly on top. That is why a quick wipe often fades the black marks for a day or two before they return.
If you want to understand the deeper causes of persistent bathroom mould, such as poor ventilation, humidity build-up or a genuine moisture problem behind the walls, it is worth reading a dedicated diagnosis guide rather than only treating the surface. Narevella has a detailed explainer on mould, humidity and ventilation in a home that covers when mould is a simple cleaning issue and when it points to a bigger building problem.
What you will need
- A soft-bristled brush or old toothbrush
- A mould-specific bathroom cleaner, or a solution of one part bleach to four parts water (check the product label for correct dilution), or diluted white vinegar for a milder option
- Rubber gloves and eye protection
- A microfibre cloth
- Good ventilation: an open window, exhaust fan on, or door open
Safety first
Never mix bleach with other cleaning products, particularly anything containing ammonia, as this can create dangerous fumes. Ventilate the room well before you start and keep the cleaner off your skin and eyes. If you are pregnant, have respiratory sensitivities, or are cleaning a very large or heavily affected area, it is worth checking current guidance from a body such as Safe Work Australia or your state health department before using stronger chemical cleaners, and consider a gentler approach such as vinegar or a dedicated low-odour mould product instead.
Step-by-step: cleaning mould from grout
1. Apply the cleaner
Spray or apply your chosen cleaner generously along the grout lines. Leave it to sit for the time stated on the product label, usually 10 to 15 minutes, so it has time to work into the porous surface rather than just sitting on top.
2. Scrub gently but thoroughly
Use the soft brush in small circular motions along each grout line. Avoid wire brushes or anything abrasive, as these can wear away the grout and create more places for mould to take hold.
3. Rinse and dry
Rinse thoroughly with warm water and dry the area with a cloth. Leaving grout damp after cleaning gives any remaining spores the moisture they need to return quickly.
4. Repeat for stubborn staining
Deep-set staining may need a second application. For genuinely persistent marks, a paste of bicarbonate of soda and water left to sit for 30 minutes before scrubbing can lift more embedded staining without harsh chemicals.
Step-by-step: cleaning mould from silicone
Silicone sealant is more delicate than grout and mould often sits deeper within it, which is why silicone can look mouldy again within weeks of a standard clean.
1. Try a cleaning solution first
Apply the same mould cleaner or diluted bleach solution directly along the sealant line. Leave it for the time stated on the label, then scrub gently with a soft brush.
2. Consider a bleach-soaked cotton wool method for stubborn cases
For mould that will not lift, lay bleach-soaked cotton wool strips or paper towel directly along the silicone line, leave for a few hours or overnight in a well-ventilated room, then remove and rinse thoroughly. Always test on a small, hidden section first, as some coloured or older silicone can discolour.
3. Know when it is time to replace the silicone, not just clean it
If mould has worked its way fully through the sealant, or the silicone is cracking, peeling or pulling away from the tile, cleaning will only ever be a temporary fix. At that point, re-siliconing is the better long-term solution. It is a manageable DIY task for many homeowners, though a neat, watertight result takes some practice, and a professional job is worth considering in a rental property or where the seal is protecting a shower base from water damage.
How to stop mould coming back
- Run the exhaust fan during and for at least 20 minutes after every shower
- Wipe down tiles, screens and silicone with a squeegee or towel after use
- Leave the bathroom door or a window open when possible to keep air moving
- Wash shower curtains or bath mats regularly
- Address any obvious leaks or dripping taps promptly, since constant moisture is what allows mould to establish itself in the first place
Consistent ventilation habits make a bigger long-term difference than any single cleaning product. If mould keeps returning quickly despite good airflow and regular cleaning, that is a sign worth investigating further rather than simply reaching for a stronger chemical each time.
When to call a professional
Most bathroom silicone and grout mould is a straightforward cleaning job. However, it is worth getting a tradesperson or building professional to look at the area if you notice mould returning within days no matter how well you clean, soft or spongy sections of wall or flooring near the shower, a musty smell that persists even with the exhaust fan running, or mould spreading beyond the wet areas into the rest of the bathroom or an adjoining room. These can be signs of a moisture source behind the tiles rather than a surface cleaning issue, and are worth a proper diagnosis before they cause more damage.

Join The Discussion