
 by
by 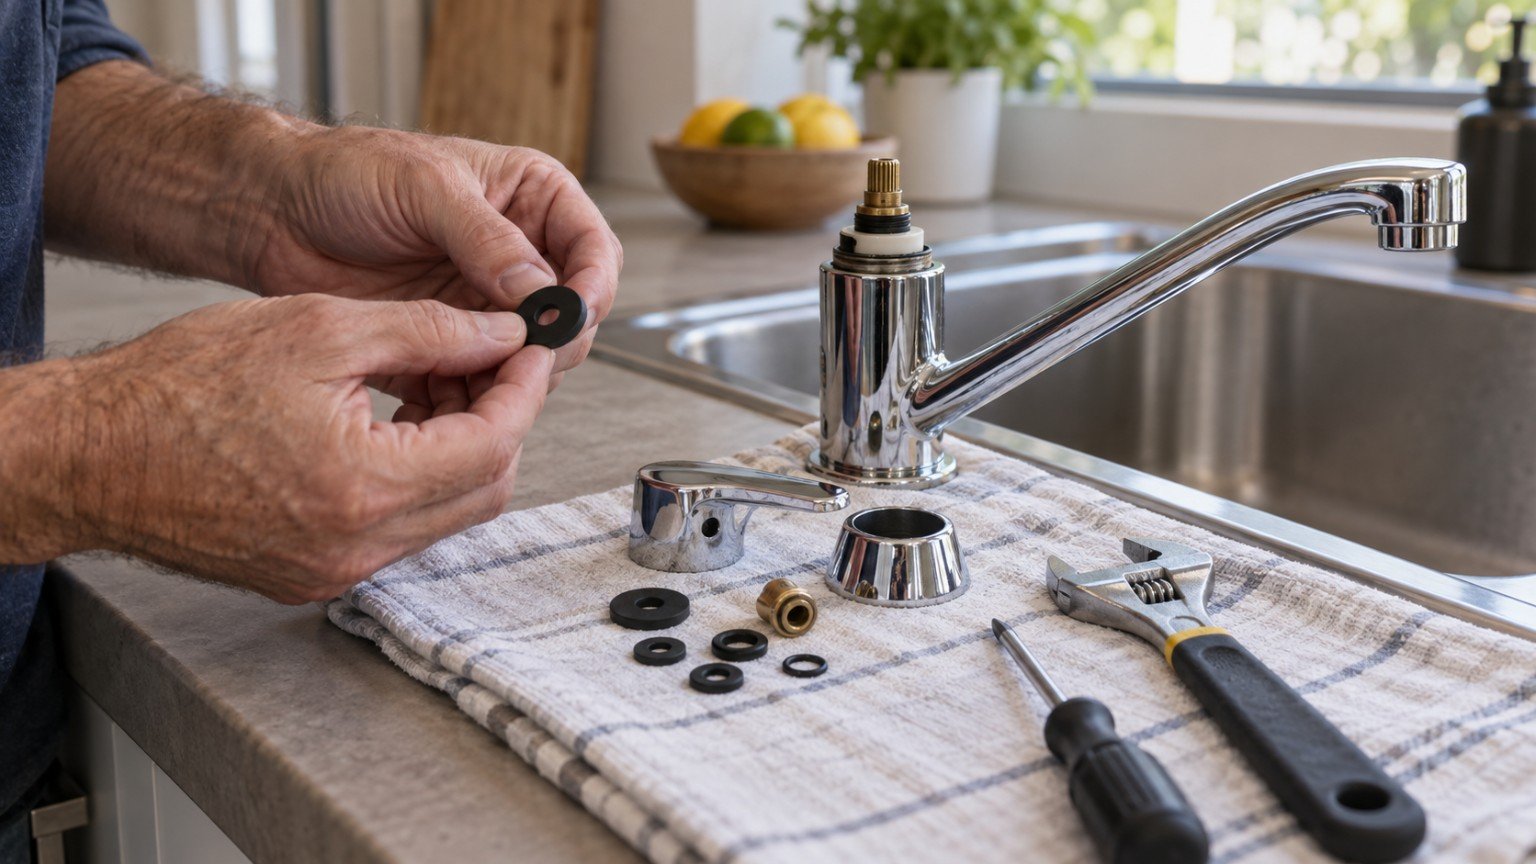
A dripping tap is one of the most common household annoyances in Australia, and also one of the more satisfying fixes to do yourself. In most cases, a worn tap washer is the culprit, and replacing it is a manageable weekend job for most homeowners with basic tools. Here is how to identify the problem, what you can safely do yourself, and when it makes more sense to call a licensed plumber instead.
Why taps drip
Traditional taps use a rubber or fibre washer that presses down onto a valve seat to stop the flow of water. Every time you turn the tap on and off, that washer gets compressed slightly. Over months and years it hardens, wears down or perishes, and eventually stops sealing properly, which is what causes that steady drip. Mineral deposits from hard water can speed this wear along, which is one reason taps in some parts of Australia need washers replaced more often than others.
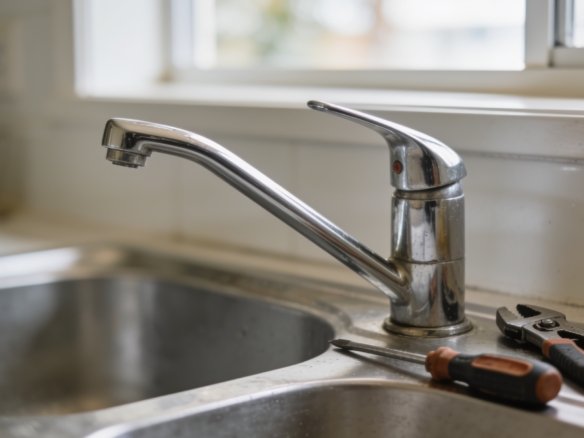
Newer mixer taps generally use a ceramic disc cartridge rather than a traditional washer. These do not have a user-replaceable washer in the same way, and a dripping mixer tap usually points to a worn cartridge, which is still often a manageable DIY replacement but is a slightly different job to the one described below.
What you will need
- An adjustable spanner or shifter
- A screwdriver (flat or Phillips head, depending on your tap)
- A replacement washer kit sized to match your tap (available from any hardware store)
- Plumber’s tape (optional, for reassembly)
- An old towel or rag
Before you start: turn off the water supply
This is the most important safety step. Locate the isolation valve, usually under the sink or, if there isn’t one there, at the main water meter, and turn it off. Then turn the tap on briefly to release any remaining pressure and confirm the water is off before you begin. Skipping this step is the single most common reason a simple washer swap turns into a messy job.
Step-by-step: replacing a tap washer
1. Remove the tap handle
Most handles have a small screw hidden under a decorative cap on top, or on the side. Prise the cap off gently with a flat screwdriver, remove the screw, and lift the handle away.
2. Unscrew the bonnet
Underneath the handle you will find a metal cover called the bonnet. Use your adjustable spanner to unscrew it, turning anticlockwise. Wrap it in a cloth first if you want to avoid scratching the finish.
3. Remove the spindle (jumper valve)
Once the bonnet is off, you should be able to unscrew and lift out the spindle assembly. The washer sits on the bottom of this piece, held in place by a small brass nut or screw.
4. Replace the washer
Remove the old washer and take it with you to the hardware store if you are unsure of the size, since getting an exact match matters for a proper seal. Fit the new washer in the same position and tighten the retaining nut or screw.
5. Reassemble
Put the spindle back in, screw the bonnet back on, and reattach the handle. Turn the water supply back on slowly and test the tap. A small amount of spluttering as air clears from the line is normal.
Signs a washer replacement will not solve the problem
Not every drip is a worn washer. Before you buy parts, it is worth checking for other causes, including a leak that continues even with the tap fully off and the isolation valve shut (which points to the valve itself or the pipework, not the washer), dripping from around the tap handle rather than the spout, which usually means a worn O-ring rather than the washer, or a mixer tap with no visible traditional washer at all, which likely needs a cartridge replacement.
When to call a licensed plumber instead
A basic washer swap on a standard tap is generally within reach for a confident DIYer. However, stop and call a licensed plumber if you notice water damage, staining or softness in the cabinetry or wall around the tap, which can indicate a leak that has been running for some time, the valve or fitting is corroded, seized or difficult to remove without excessive force, the leak is coming from a fitting connected to hot water or gas-heated systems, or you are not confident isolating the water supply safely. In Australia, any plumbing work beyond simple fittings like a tap washer generally needs to be carried out by a licensed plumber, so if the job starts to look more involved than a straightforward washer swap, it is worth getting a professional quote rather than pushing on.
A quick note on cost and water waste
A dripping tap might seem minor, but a steady drip can waste a genuinely significant amount of water over a year, which shows up on the water bill even if the leak itself feels small. A washer kit typically costs only a few dollars, which makes this one of the better value DIY jobs around the house when it is within your comfort and skill level.
Join The Discussion