
 by
by 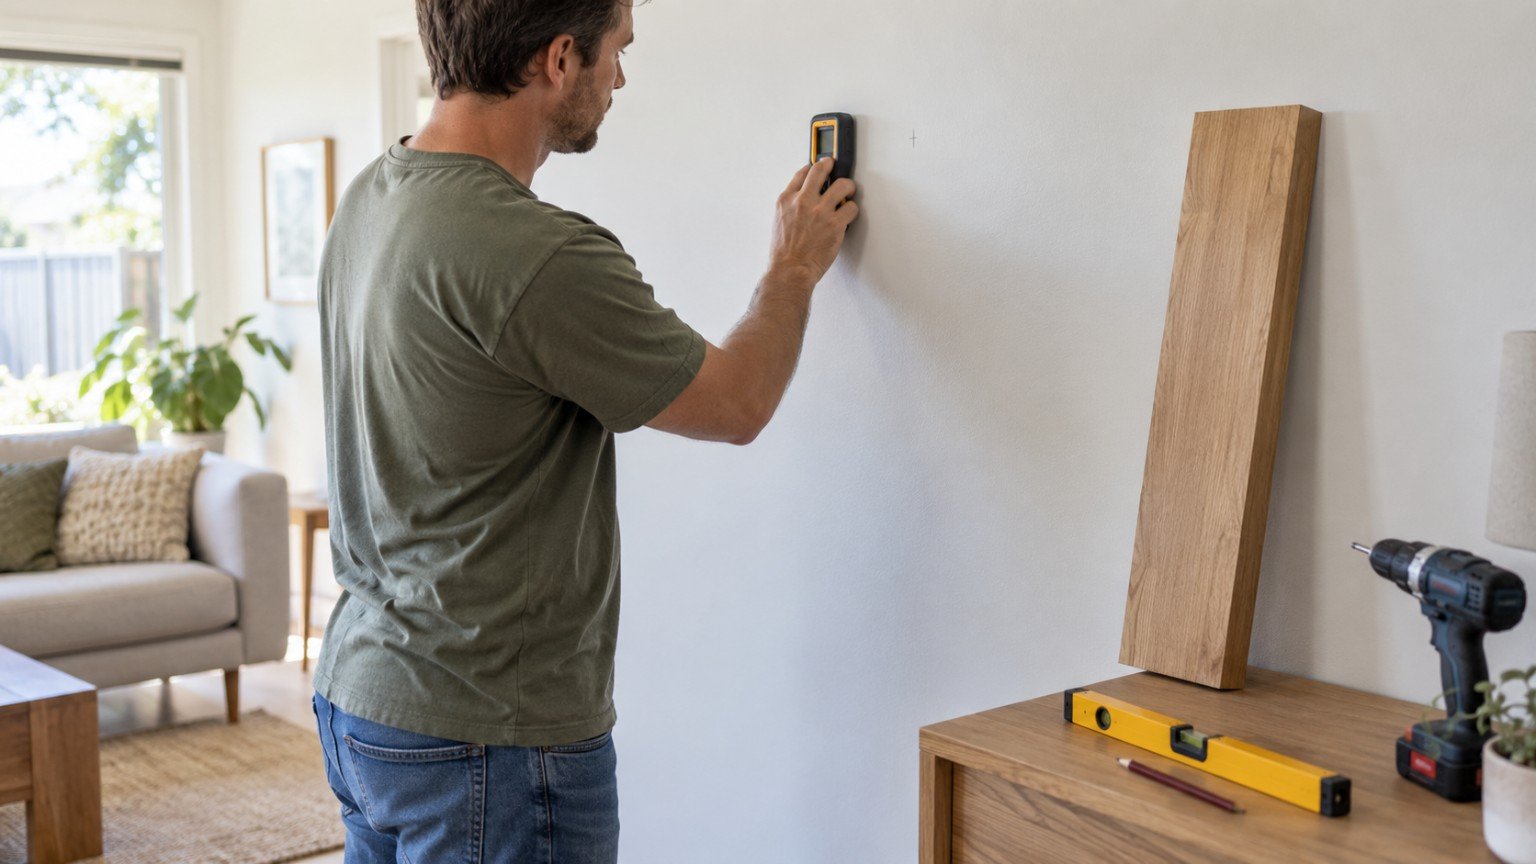
A shelf that’s screwed straight into plasterboard without hitting a stud is one of the most common reasons shelves end up crooked, wobbly, or pulled straight out of the wall within a few months. Finding the studs first, and fixing into them properly, is the difference between a shelf that holds books and pot plants for years and one that fails under weight.
Why studs matter
Most internal walls in Australian homes are timber or steel-framed and covered with a layer of plasterboard. Plasterboard alone isn’t strong enough to support real weight on its own. The vertical framing members behind it, called studs, are where the actual structural strength is. Screwing a shelf bracket into a stud spreads the load onto solid framing rather than relying on the plasterboard’s surface to hold the weight.
How to find a wall stud
Use a stud finder
An electronic or magnetic stud finder is the most reliable option and costs relatively little from any hardware store. Electronic models detect density changes behind the wall; magnetic ones detect the screws already holding the plasterboard to the frame. Run the tool slowly across the wall in a horizontal line and mark where it signals a stud, then repeat a little higher or lower to confirm the same stud runs vertically.
Tap and listen
Knocking gently along the wall with a knuckle is a useful low-tech backup. A hollow, echoey sound usually means plasterboard only, while a firmer, duller sound usually means you’re over a stud. This method is less precise than a stud finder but useful for a rough first pass.
Check for clues
Power points and switches are almost always fixed to a stud on one side, and skirting board nails often mark where studs run vertically up the wall. In most Australian homes, studs are spaced at fairly regular intervals (commonly around 450mm or 600mm apart), so once you’ve confirmed one, you can measure along to estimate roughly where the next one will be.
What you’ll need
- Stud finder
- Spirit level
- Tape measure and pencil
- Drill with an appropriately sized bit
- Screws rated for the shelf bracket and expected load
- The shelf brackets or shelving system itself
How to hang a shelf on a stud
- Decide on the shelf height and mark it lightly in pencil.
- Use the stud finder to locate the stud (or studs) nearest that position, and mark their centre points.
- Hold the bracket in place, use a spirit level to check it’s straight, and mark the screw holes through the bracket onto the wall, lining them up with the stud.
- Drill pilot holes at the marked points before driving the screws in. A pilot hole keeps the screw straight and reduces the risk of splitting timber studs or cracking plasterboard.
- Fix the bracket to the wall, checking level again before fully tightening.
- Repeat for the second bracket using the stud spacing you identified earlier, then fit the shelf and test it with a light load before adding anything heavy.
What if a stud isn’t where you want the shelf?
Shelf position doesn’t always line up neatly with stud spacing. If you need to fix into plasterboard between studs, use a proper heavy-duty plasterboard anchor rated for the expected weight, rather than a standard wall plug, which is designed for much lighter loads. For anything holding real weight, such as a bookshelf or a floating shelf meant to carry more than a few kilograms, it’s worth fixing at least one bracket into a stud even if the other needs an anchor, or spanning the shelf so both ends land on solid framing.
When to get help instead
Hanging a straightforward shelf is a manageable weekend job for most homeowners. It’s worth pausing and getting a professional opinion if you’re dealing with a wall you suspect is load-bearing and want to modify it structurally, a heritage or rendered wall where drilling could cause visible damage, or a very heavy installation like a full shelving unit anchored floor to ceiling. A carpenter or handyman can confirm stud locations and load ratings quickly if you’re not confident doing it yourself.
Join The Discussion